Image Map

Friday, December 31, 2010

WINNER of Tate's Cookies Giveaway and The FASTEST Cookies EVER

Drum roll PLEASE! - In honor of the New Year I'd like to announce the winner of the Tate's Cookies and Cookbook Giveaway! I punched in the appropriate numbers (1-42) into random.org and the lucky number that was chosen was......

#5!!!  Yes,  the WINNER is Laurie!  The wonderful Laurie from cookin' up north.  Congrats Laurie!!!


Along with the above happiness of announcing the winner of Tate's Giveaway I want to share a lovely cookie recipe.  One of the very FASTEST cookie recipes ever.....and yummy too! - full of cinnamon-y flavor, studded with oatmeal and plump raisins.  Yes, Oatmeal Raisin Cookies is what I'm about to share with you made and baked in a flash.


All you have to do is blink because once you do this recipe is mixed together and ready to be scooped into little balls onto cookie sheets and thrown placed into the hot oven.

Here we go....


Fastest EVER Oatmeal Raisin Cookies
(recipe discovered on TK and slightly altered from TK member carolinacollegcook)

Ingredients:

2 eggs

1/2 cups veggie or canola oil (I used canola)

1 box (18oz) Yellow Cake Mix (moist variations work best)

1 1/2 Tbsp cream - 1/2 and 1/2, light or heavy will all work well (I used heavy)

1 tsp ground cinnamon

3/4 cup raisins

3/4 cup oatmeal

Directions:

1. Preheat oven to 350 degrees F.

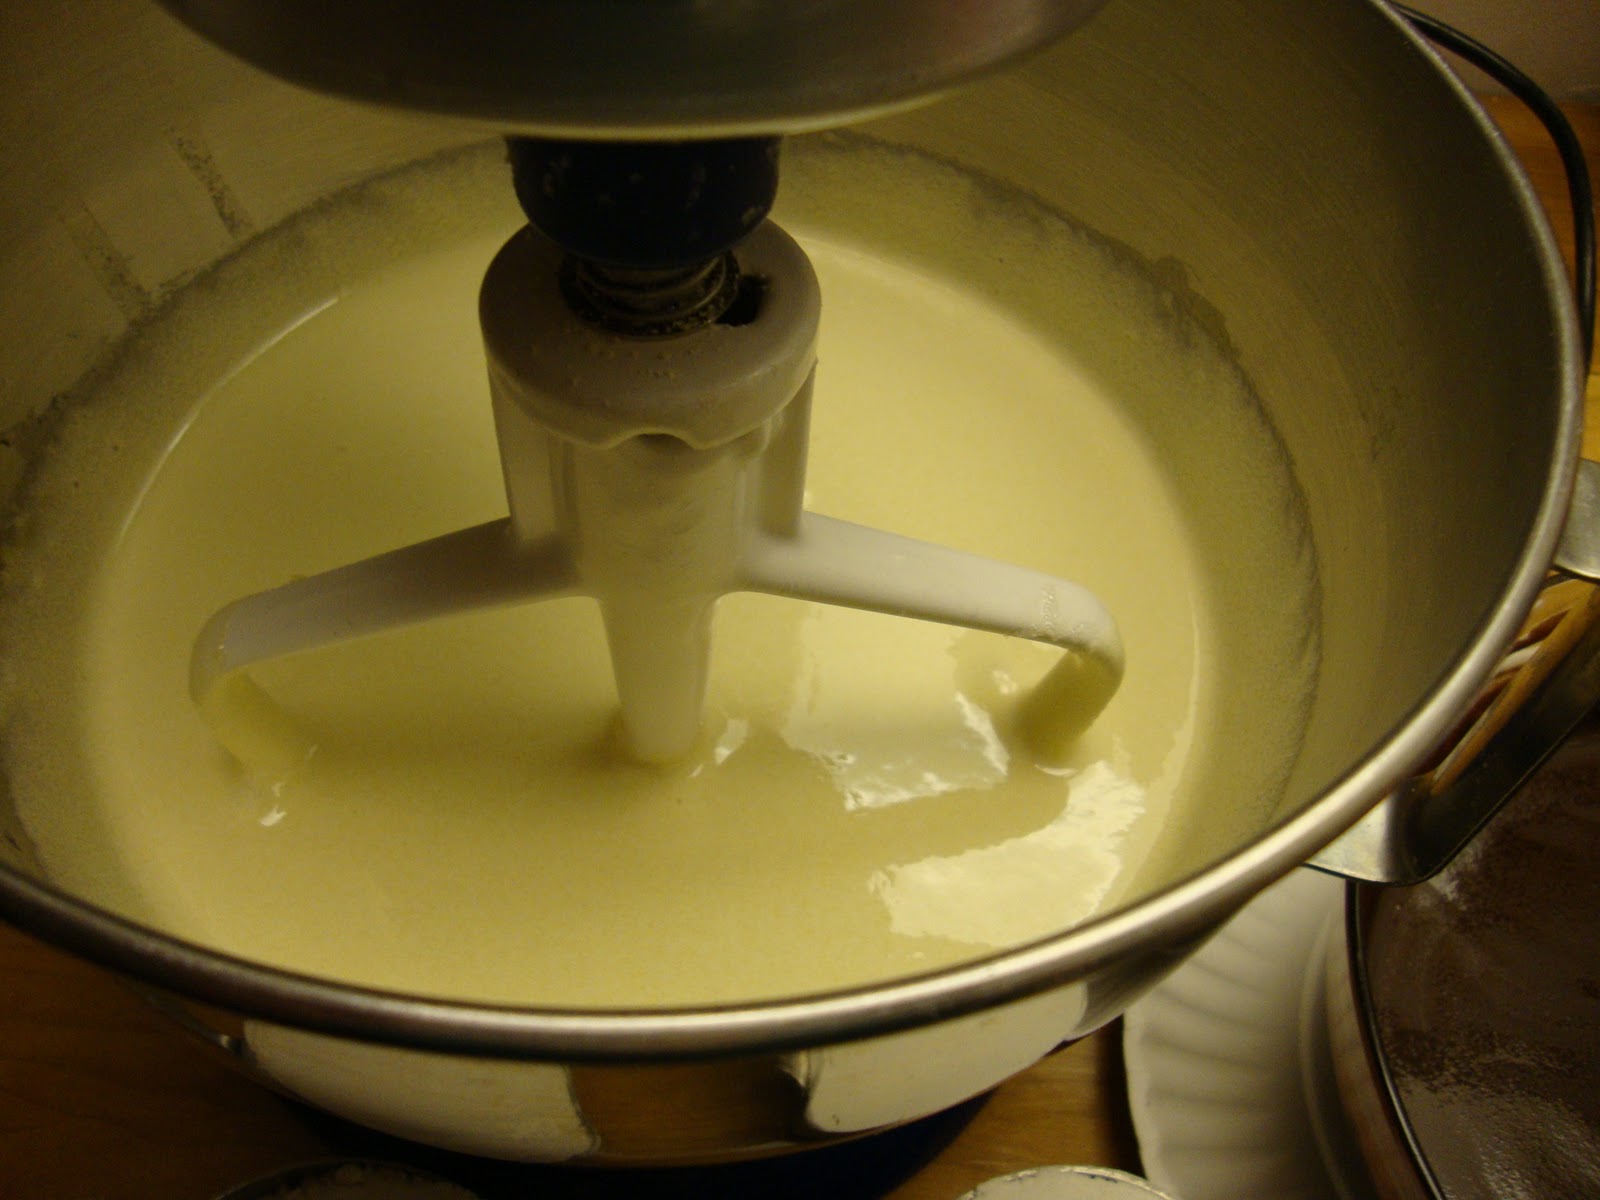
2. Beat eggs in a large bowl.  Add in oil then cake mix and cinnamon and stir/beat until thoroughly incorporated.

3. Add in cream and then raisins and oats.  Make sure everything is incorporated fully.

4. Place scoops of cookie dough on lightly greased or parchment lined cookie sheets.  Bake for 8-10 minutes or until edges are lightly browned.   Cool cookies for a couple minutes on cookie sheets and then remove to cooling racks.

Enjoy with a nice cold glass of milk!


Happy FASTEST Ever Oatmeal Raisin Cookie Baking!


Sunday, December 26, 2010

A VERY Belly Christmas and a BURSTING with Flavor Cake


Sending all of you a VERY Merry Christmas and a Happy, Happy New Year as I burst at the seams with only 3 weeks (approximately :-) left of my pregnancy.   I wishing each and everyone of you a joyous and happy New Year too!  Again, my cup runith over with gratitude and happiness for all that I have gained and experienced this past year in my daily life adventures outside of this blog and "inside" of it too.  I truly feel blessed and honored to be so fortunate with such a wonderfully full life.

Speaking of "full" I have a lovely cake FULL of flavor that I made through

The Cake Slice Baker's group last week.


Lauren Chattman author and creator of Cake Keeper Cakes gives this cake a very simple title of, Cranberry Cake but I think it should be called, Fabulous Cranberry Almond Coffee Cake.  I state this because this cake is amazing in all its simple glory of having fresh cranberries surrounded by a moist and sweet cake that is finished off by a delightfully crunchy almond topping.....reminding me of a coffee cake rather than just a simple cake.  It could be eaten for breakfast, at tea time and even as a wonderful dessert after dinner.  And it is super, super easy to put together.  In fifteen minutes flat I had the cake stirred up and placed in the oven baking away happily.  The hardest part was waiting for it to be done.  It does take a good hour for this treasure to bake.  I learned from the other talented ladies in the TCSB's group that the oven temp of the original recipe actually needed to be increased to 325 as 300 took forever for it to fully bake the cake.  Even at 325 I still had to bake the cake longer than I anticipated.  The middle of the cake just needed that extra time to fully bake. 


That being said all you need is a bag of FRESH cranberries, regular ingredients in your pantry and some good ole fashioned "patience" to allow the cake to bake to its fullest.  You will then have a master piece of a festive cake that will bring happiness and YUMMINESS to many.  Bake and share this cake ASAP!


Cranberry Cake (also known to me as Fabulous Cranberry Almond Coffee Cake)
(recipe from Cake Keepers Cakes by Lauren Chattman)

Streusel Topping Ingredients:

1 cup sliced almonds

2 Tbsp unsalted butter, melted

2 Tbsp packed brown sugar

Cake Ingredients:

2 cup flour

1 tsp baking powder

1/4 tsp salt

3 large eggs

2 cup sugar

3/4 cup (1 1/2 sticks) butter, melted and cooled

1 tsp vanilla extract

1 bag (12 oz) FRESH cranberries


Streusel Directions:

1. Preheat oven to 325 degrees F.  Grease a 10" round springform pan.

2. Combine sliced almonds, melted butter and 2 Tbsp's  brown sugar in a medium bowl.  Mix all together and then refrigerate until ready to use.

Cake Directions:

1. In a medium bowl combine flour, baking powder and salt...whisk all together.

2. In a large bowl combine eggs and sugar - beat with an electric mixer on medium-high heat for a good 5 minutes.  Mixture will become light and fluffy and increased in volume.

3. Turn mixer down to low and slowly add in melted and cooled (1 1/2 sticks) of butter.  Turn mixer up to medium speed and beat for 2 minutes.  Add in vanilla extract at the end of 2 minutes. 

4.  Gently mix in flour - 1/2 cup at a time.  Then stir in FRESH cranberries.

5. Pour batter into prepared springform pan.  Smooth top of cake with a rubber spatula.  Sprinkle cake with Streusel Topping prepared previously.

6. Bake cake for about 1 hour to 1 hour and 15 minutes.  Cake will be golden brown and a toothpick inserted in the center will come out clean when cake is done.  If you feel like your cake is getting too brown too fast yet needs more time to bake cover with tin foil as it completes it's baking time.

7. Let cake cool in pan on a wire rack for 10 minutes and then release sides of the springform pan.  Cool completely, cut into slices and serve.

Happiness with FRESH cranberries will be enjoyed by all!


Happy Cranberry Cake Baking!


Tuesday, December 21, 2010

TWO Last Minute HOMEMADE Yummy Gifts

How are your holiday preparations coming along?  Have you finished all your shopping, wrapped all your presents, sent out your cards and started to bake and cook for your holiday meals?  Goodness, that all sounds sounds overwhelming!!!  I may have about 1/2 of the above finished....one project at a time is all I can continue to say to myself  in an effort to keep my stress level down.  So in light of reducing stress I am here to offer you TWO simple and scrumptious recipes for HOMEMADE food gifts.  You are going to LOVE them!

I am going to start with a fabulous fudge recipe (a rich, smooth and decadent treat)...


 and then I will follow it up with a colorful and sweet popcorn treat (coated with white chocolate and studded with M n M's and Honey Roasted peanuts)....


Get your napkins ready....you will be drooling over both recipes I can tell you that. :-)


Nutella Fudge
(recipe from Let's Dish - also found on Cookin' Canuck)

Ingredients:


1 Tbsp butter - for buttering pan

1 (14oz) can sweetened condensed milk

1 tsp vanilla extract

8 oz. bittersweet or semisweet chocolate chips

1 cup Nutella - at room temperature

3 Tbsp unsalted butter - at room temperature, cut into 1/2" pieces

sprinkles or sparkled sugar (optional)

Directions:

1. Grease the bottom and sides of an 8x8 square baking pan with 1 Tbsp of butter.  Line pan with parchment paper...make sure 2" of overlap exist on the sides of pan from the parchment paper.

2. In a medium heat proof bowl combine sweetened condensed milk, vanilla extract, chocolate chips, Nutella and 3 Tbsp butter....


3. Set heat proof bowl over a simmering pan of water.  Make sure simmering water does not touch bottom of heat proof bowl - this will cause the chocolate mixture to burn if not watched carefully. 

4. Stir mixture occasionally until chocolate chips  are melted fully and the whole mixture is smooth.  This takes about 5-7 minutes....


5. Pour mixture into prepared pan.  Spread with a spatula to smooth over the top....


 Sprinkle with sprinkles or sparkling sugar if you wish.....


  Cover and refrigerate fudge until firm - at least 2 hours if not longer.

6. Lift fudge filled parchment paper out of pan and cut into small squares.  Package as you wish and giveaway with happiness!


Happy Nutella Fudge Making!


Now onto the yummy popcorn....


White Chocolate Popcorn
(recipe discovered on Jaime Cooks it Up! -one of my very favorite blogs!)

Ingredients:


  2 bags of microwave popcorn - (I air popped my popcorn and made about 10 cups of popcorn instead of using microwave popcorn)

2 (12oz) bags of white chocolate chips

1 Tbsp shortening

1 cup Holiday M and M's

1 cup Honey Roasted peanuts

Directions:

1. Pop your popcorn - microwave or air pop - into a large bowl.  Set aside.

2. Put white chocolate in a microwave safe bowl.  Heat for 45 seconds then stir.  Continue to heat and stir every 30 seconds.  Heat chocolate slowly for you don't want to burn your chocolate by melting it too fast in the microwave.

3. Once chocolate is completely melted add in the 1 Tbsp of shortening.  Stir well to fully incorporate....


4. Slowly pour white chocolate over popcorn......


 and mix carefully.  (I poured a little over my popcorn and then stirred it through gently and then repeated until all the white chocolate was mixed into the popcorn) 

5.  Add in M and M's and peanuts....


  The peanuts and M and M's will stick nicely to the warm white chocolate popcorn as you stir them into mixture.

6. Line 2 cookie sheets with wax paper.  Divide popcorn between the two sheets and allow the chocolate to set onto popcorn (about 30 minutes).  Break popcorn into chunks and package up into pretty bags or tins.  SUPER yum!


Happy White Chocolate Popcorn Making!!!


Saturday, December 18, 2010

A Dessert Dip and a Special Cookie GIVEAWAY


Yahoo!!! - another giveaway!  And what a perfect giveaway for the last week of the 12 Weeks of Christmas Cookies because it involves COOKIES!!!  A couple of weeks ago I was sent a lovely box full of treats from Tate's Bake Shop located in the Hampton's, NY.  THREE boxes of cookies and a fabulous cookbook from Tate's was included in that box....everything that you will receive if you WIN!  Yes, a package of 3 boxes of scrumptious kinds of cookies  (Oatmeal Raisin, White Chocolate Chip Macadamia Nut and  Chocolate Chip) AND a cookbook from Tate's Bake Shop in The Hampton's, NY  goes to the lucky winner of this giveaway.


The cookies were delicious!  The White Chocolate chip Macadamia and Chocolate Chip cookies are tender and sweet with a lovely crispness while the Oatmeal Raisin cookies just melted in my mouth with a softness that can not be resisted.


  And the cookbook is fabulous!  I can not wait to dive into the ear-tagged pages of recipes.  I want to make the White Chocolate Brownies, Raspberry Squares, Hermits, Double Peanut Chocolate Brownies and Toffee Pecan Cookies.....to name a few. ;-) Keep your eyes open for some of these recipes coming your way on my blog in the future.

Here are the rules....

1. All you have to do to enter to win this giveaway is leave a comment at the end of this post.  Tell me anything....what you did this morning, what your plans are for the holidays or even what your most favorite kind of holiday treat there is out there (whether it be a sweet baked goodie or something savory).

2. For an extra entry become a "fan" of Tate's Bakery page on Facebook - just be sure to leave another comment to let me know you have done so.

3. This giveaway is only open to U.S. residents...I'm so sorry to all the foreigners!

4. A 15% off discount at Tate's online store is available up until the 31st of December.  Just enter "cookie" at the end of your purchase.

5. All entries will be accepted up until 12 midnight of Tuesday 12/21/10.  Winner will chosen with the help of random.org.
Now onto my last recipe for the 12 Weeks of Christmas Cookies 2010....

Goodness it is the LAST week of the 12 Weeks of Christmas Cookies!  How in the world did that happen so quickly?  Wowsers....time flies!  I have had so much fun with this baking group.  I have made many, many new friends, gained access to tons of fabulous blogs and recipes and I seriously can  not wait until next year to participate again!  Many, many thanks to April of Abby Sweets for organizing such a great baking group!


In honor of the last week of this fabulous baking group I would like to share with you a simple and oh-so-d'lish dessert dip called, Chocolate Chip Cookie Dough Dip.  I had seen this recipe floating around blog land recently and decided to try my hand at it when I came upon it at one of my very favorite food blogs, Brown Eyed Baker.

Brace yourself for this treat now.  It is super, super easy to whip together and will be a HUGE hit to everyone that dips into it.  They will be begging you for the recipe...yes, begging you. 

Chocolate Chip Cookie Dough Dip
(recipe from the very talented, Brown Eyed Baker)


Ingredients:

1 stick butter (I used unsalted)

1/3 cup brown sugar

1 tsp vanilla extract

1 (80z.) package of cream cheese

1/2 cup powdered sugar

3/4 cup mini chocolate chips

Directions:

1. In a small saucepan over medium heat melt butter with brown sugar.  Stir constantly until the brown sugar has dissolved.   Remove from heat and then whisk in vanilla extract.  Set saucepan aside and cool.

2. Beat together cream cheese and powdered sugar while butter/brown sugar mixture is cooling. 

3. Slowly beat in cooled butter/brown sugar mixture into the cream cheese mixture.  Beat for a full minute on medium speed then with a wooden spoon or plastic spatula gently stir in mini chocolate chips.

4. Pour dip into a serving bowl and refrigerate.  Garnish with more mini chips before serving if you wish.  Serve dip with cookies of your choice - graham cracker sticks or vanilla wafers go great with this dip!

YUM!  Enjoy to the fullest!


Happy Chocolate Chip Cookie Dough Dip Making!

Week 12 Twelve Weeks of Christmas:

Wednesday, December 15, 2010

An Eggnog Quickie


I (HEART) Eggnog!  - I love the taste and I especially LOVE what it represents...the holidays. Thanksgiving through New Year's the yumminess of eggnog can be easily found in the grocery stores.   I also (HEART) this wonderfully quick recipe I came upon a couple of days ago.....Quick Eggnog Bread.  Not only is this bread super easy to throw together but the flavors are wonderful!  I made a double batch of this recipe - which gave me 3 mini loaves and 1 BIG loaf - and then gave away almost all of it within just a few days as early Christmas presents.  Everyone gave me RAVE reviews on the bread.  That being said I have to share the recipe for all of you that love eggnog too (or know someone that enjoys it).


Quick Eggnog Bread
(recipe adapted and found on allrecipes)

Ingredients:


2 eggs

1 cup eggnog

2 tsp rum flavored extract (or REAL rum....which is what I used)


1 cup sugar

1 tsp REAL vanilla extract

1/2 cup butter,  softened

2 1/4 cups AP flour

2 tsp baking powder

1/2 tsp salt

1/4 tsp ground nutmeg or cinnamon

Directions:

1. Preheat oven to 350 degrees F.  Grease bottom only of a 9x5 loaf pan or 3 mini loaf pans.

2. Beat together sugar and softened butter until light and fluffy.  Then add eggs...


.... and vanilla and rum extract.  Then add in eggnog...


3. Sift together flour, baking powder, salt and spices.  Add to eggnog mixture and stir just until combined.  Pour into prepared pan/pans.

4. Bake bread 40-60 for large loaf and 35-40 minutes for mini loaves.  Loaf will be done when toothpick inserted in center comes out clean.  Cool bread for 10 minutes and then remove from pan.  Cool completely then wrap tightly and store in refrigerator.

Share and ENJOY!


Happy Quick Eggnog Bread Baking!


Friday, December 10, 2010

Strawberry Swirl Blondie's

For the 11th week of the 12 Weeks of Christmas Cookies.....


....I present to you Strawberry Swirl Blondie's!   A treat of all treats these blondie's are....a rich buttery taste with a lovely ribbon of strawberry jam through it.  Super easy to throw together with basic ingredients that are right there in your pantry.  And, the very BEST part of this recipe is that if you don't have strawberry jam you can easily substitute another flavor of jam - such as peach, apricot, raspberry or even blueberry.  The original recipe actually called for raspberry jam but because I had a HUGE jar of strawberry jam and no raspberry jam I used strawberry jam instead.


Strawberry Swirl Blondie's
(recipe adapted from Let's Dish)

Ingredients:

2 cups flour

2 tsp baking powder

1/2 tsp salt

1 cup butter, unsalted

1 1/2 cup sugar

2 eggs

2 tsp vanilla extract

1/2 cup strawberry jam (or jam of your choice)

Directions:

1. Preheat oven to 350 degrees F. Grease a 9x13 pan.

2. Combine flour, baking powder and salt in a medium bowl.  Set aside.

3. Over low heat melt butter in a large saucepan.  Remove fully melted butter from heat.  Stir in sugar into melted butter until dissolved.

4. Quickly whisk in eggs and vanilla extract to butter/sugar mixture. 

5. Stir in flour mixture to the egg/butter/sugar mixture - just until combined.

6. Spread batter into prepared pan.  Spoon jam over batter and then swirl into batter with a butter knife to create a marbled effect.

7.  Bake for 25-30 minutes or until toothpick comes out clean from the center of pan.  Cool before cutting into squares and serving.

Enjoy!


Happy Strawberry Swirl Blondie's Baking!

Week 11 Twelve Weeks of Christmas:

Thursday, December 9, 2010

WINNER is announced and a LOVELY PD Gelatin Salad

OMHappiness!!!!  The WINNER has been chosen for the yummy True Nuts give-away! 


I'm delighted to announce that the #10 comment on my give-away post has been drawn from random.org.....YES, the lovely Ingrid of Baseball, Baking and Books has been chosen! Congrats Ingrid!  I will be contacting you soon to get your home address to mail away your yummy nuts.  :-)


Along with my happiness over Ingrid winning The True Nut give-away I'm delighted to share with you a very special recipe.  Special in what way you ask? Well, let's just say that I have finally come across a PD (Paula Deen) recipe that does NOT contain butter.  That's right NO butter exists in this recipe from the sweet southern gal we all love.  I know, I know this may not really be fair because the recipe I'm about to share with you is a gelatin mold salad so why would it even be possible for butter to be an ingredient in it?  Just wondering....have you ever heard of a gelatin mold that has butter in it?  Me neither (so far).  But the reality of this d'lish gelatin salad mold that PD created is that it has a lovely nutty cream cheese filling that could easily have a little butter added to it......but PD held herself back and didn't do it!  I'm proud of you girl! ;-)


I made this gelatin salad for Turkey Day.  It was a BIG hit and it was easy to put together along with wonderful flavors from the combination of pineapple, cranberry and raspberry.   I will definitely be making this recipe again....most likely for Christmas dinner.

Cranberry Pineapple Gelatin Salad
(recipe from Paula Deen)

Ingredients:


2 (3oz.) packages raspberry gelatin

1/2 envelope unflavored gelatin

1 cup boiling water

1/2 cup cold water

1 (8oz.) can crushed pineapple in its own juice

1 (15oz.) can whole cranberry sauce

1/4 cup finely chopped walnuts (optional....I didn't add these)

Filling Ingredients:


1 (8oz.) package cream cheese, softened

1/4 cup powdered sugar

2 Tbsp whipping or heavy cream

1/4 cup chopped walnuts


Directions:

1. Spray a 4 cup gelatin mold or a 9x9 square pan with non-stick spray.  Set aside.

2. Combine 2 boxes of raspberry jello and non-flavored gelatin in a glass bowl.  Add in 1 cup boiling water...


 and stir with a metal spoon until the gelatin is completely dissolved - about 2 minutes of continual stirring.

3. Stir in 1/2 cup of cold water.

4. Add the crushed pineapple (and it's juice) along with cranberry sauce and chopped nuts (if you wish).....


  Stir well with a metal spoon until all ingredients are completely incorporated.

5. Pour mixture into prepared mold....


  Cover with plastic wrap and refrigerate until firm - at least 4 hours (or overnight as I did).

6. Make filling by combining softened cream cheese, powdered sugar and whipping/heavy cream....


  Beat until smooth with a hand held mixer.  Add in chopped nuts and mix to combine. Set aside.

7. About an hour before serving gelatin salad remove from refrigerator and invert onto a serving platter.  Allow to sit at room temperature and the mold will release itself and come clean from the mold. 

8. Once gelatin has been removed from mold gently fill or top with filling....


Yummy!  What treat of a gelatin salad!

Happy Pineapple-Cranberry Gelatin Salad Making!


Saturday, December 4, 2010

A NUTTY Give-Away with SUPER Special Brownies

Hooray for another weekend!  In celebration of the weekend and the 10th week of the 12 Weeks of Christmas Cookies I would like to share with all of you a fabulous GIVE-AWAY! Yes, a GIVE-AWAY!!!!!!

A couple of weeks ago I attended a local Thanksgiving Farm Fair at Stonewall Farm (such an amazing facility/farm we have here in Southern NH!).  As I was filling my bags of locally made beautiful handmade gifts I came across a table that was laiden with some of the most delicious nuts I had ever tasted from yet another local company called, The True Nut.  I had sampled their nuts before and already knew how much my taste buds enjoyed them (SO yummy!) but then as I introduced myself and started chatting further the owner of the company (Steve Ryder) I knew I had come across a gem.  Not only did Steve hand me over a bag FULL of a variety of his fabulous nuts but he was super nice!  The fun part about his company is that it was started to show his daughter how a business could be started and ran successfully with the hopes that a little bit of money could be made.  Steve did this and more for now his treats are well known and full of positive outcomes.  I feel honored to be able to give away some of The True Nuts and I know you will enjoy them too!


Enter to win all FOUR packages of nuts that you see in the above picture just by leaving a comment at the end of this post or on my Facebook page for Baking and Creating with Avril.  To double your chances of winning visit The True Nut website and come back to tell me something that you enjoyed discovering from your visit to their website.  Winner will be chosen at random.  Contest will be closed 12 midnight on Monday 12/6/10.

And now without further delay here is a wonderful brownie recipe for the holidays.....York Peppermint Paddy Brownies  (rich in chocolate flavor with a peppermint paddy surprise in the middle)....in honor of the 10th Week of The 12 Weeks of Christmas Cookies....


York Peppermint Patty Brownies
(from the lovely Jaime Cook's It Up! blog...goodness do I adore her recipes!!!)

Ingredients:


1 cup butter

8 - 1 oz. squares unsweetened chocolate

5 eggs

3 3/4 cups sugar

2 tsp vanilla extract

1/2 tsp salt

1/2 tsp almond extract (optional)

1 2/3  cup flour

1 cup semi-sweet chocolate chips

1 1/2 bags York Peppermint Patties (generic brand is not recommended from Jaime)

Directions:

1. Preheat oven to 425 degrees F. Line the bottom of a 9x13 pan with tin foil and spray with non-stick spray.

2. Place unsweetened chocolate and butter in a microwave safe bowl.....


  Microwave for 30 seconds at a time, stirring after each cooking interval.  Continue to cook and stir until chocolate and butter are fully melted.  Set bowl aside.

3. In a mixing bowl combine eggs, sugar, vanilla extract, salt and almond extract (if desired).  Beat for 3-4 minutes until smooth and thick....


4. Add in the melted chocolate/butter mixture and flour.  Mix until incorporated.  Stir in chocolate chips....


5. Spread  1/2 the brownie batter into prepared pan....a butter knife will help if need be....


6. Unwrap the peppermint patties and place them all over the brownie batter.....


  Carefully spread the remaining 1/2 of batter over the peppermint patty layer.

7. Bake for 25-30 minutes.  This is the tricky part. You don't want to over-bake the brownies....I found that my brownies were done once the sides of the brownies came away from the side of the pan and my toothpick had just a few crumbs of brownie batter stick to it.

Cool on a wire rack and then refrigerate for a good 6 hours or overnight.  Cut into squares (small squares are a good idea for these special brownies are RICH in flavor).


Enjoy your brownies along with browsing through all the other d'lish cookie, bar and candy recipes from the 12 Weeks of Christmas Cookies group.


Happy Peppermint Patty Brownie Baking!


Week 10 Twelve Weeks of Christmas:

LinkWithin

Related Posts with Thumbnails

ShareThis