Image Map
Showing posts with label Giveaway. Show all posts

Saturday, October 22, 2011

Apple Cinnamon Rolls with Cream Cheese Frosting and the Tate's Bake Shop WINNER

I am delighted to announce that Michelle Ells is the winner of the Tate's Bake Shop giveaway.  Michelle, you have won a fabulous gift of cookies - 3 packages of Dark Chocolate Whole Wheat cookies from Tate's Bake Shop and their cookbook (to add to your collection).  Thank you so much Michelle for entering into my giveaway!

And for the rest of you I have a lovely recipe just perfect for the season of Fall - Apple Cinnamon Rolls frosted with none other but Cream Cheese Frosting - super yum! Layers of all things tasty that I associate with the Fall are in these sweet rolls.  Once your dough is made and rolled out you will layer it first with a brown sugar cinnamon mixture and then chopped apples sprinkled on top. Simply yummy!


I was delighted with how easy these special cinnamon rolls came together.  The dough can actually be made in a bread machine but because I do not own one I made my dough in my Kitchen Aid stand mixer and had great success.   If you would like to make your dough in a bread machine just follow the directions from your machine manufacturer as to which ingredients that I share below should be added first.  It is my understanding that usually all the wet ingredients/liquids go first followed by the seasonings, the flour and then the yeast placed in a well of the flour.

The recipe originates from a blog that I have recently discovered called, Mrs Happy Home Maker.  Such a lovely blog full of mouth watering recipes.  Scrumptious main dishes, breakfast foods and of course desserts of all kinds are just some of the delicious recipes that I have found on this blog.  Definitely take a moment to take a peak at Mrs. Happy Home Maker.  I want to point out that I did not use the original recipe for the frosting, Caramel Cream Cheese Icing but instead made original Cream Cheese Icing.  I was missing a key ingredient for the caramel flavor, caramel ice cream topping as to why I didn't make the icing that went along with the original recipe for these rolls.


Apple Cinnamon Rolls with Cream Cheese Icing
(ever so slightly adapted from Mrs. Happy Home Maker)

Dough Ingredients:

1 cup warm milk (I warmed my milk in the microwave for 45-60 seconds to warm it)
2 eggs, room temperature
1/3 cup butter, melted and cooled for a couple of minutes
4 1/2 cups bread flour (AP flour is fine - I used AP flour)
1 tsp salt
2 1/2 tsp regular yeast (if making your dough in bread machine use yeast for bread machines)

Brown Sugar Cinnamon Filling Ingredients:

 5 Tbsp butter, softened (original recipe called for a whole stick which I didn't end up using)
1 cup brown sugar
2 1/2 Tbsp ground cinnamon


Apple Filling Ingredients:

4-5 medium sized baking apples, peeled, cored and diced
3 Tbsp butter
1/4 cup brown sugar
1/2 tsp ground cinnamon
1 tsp cornstarch

*Cream Cheese Icing:

8 oz. cream cheese, softened
1 stick butter, softened
3 cups confectioners sugar, sifted
1 Tbsp vanilla extract

*If you would like to make your icing into a caramel icing add in 5-6 Tbsp of caramel ice cream topping....should be a lovely result of a frosting for these special rolls!


Directions:

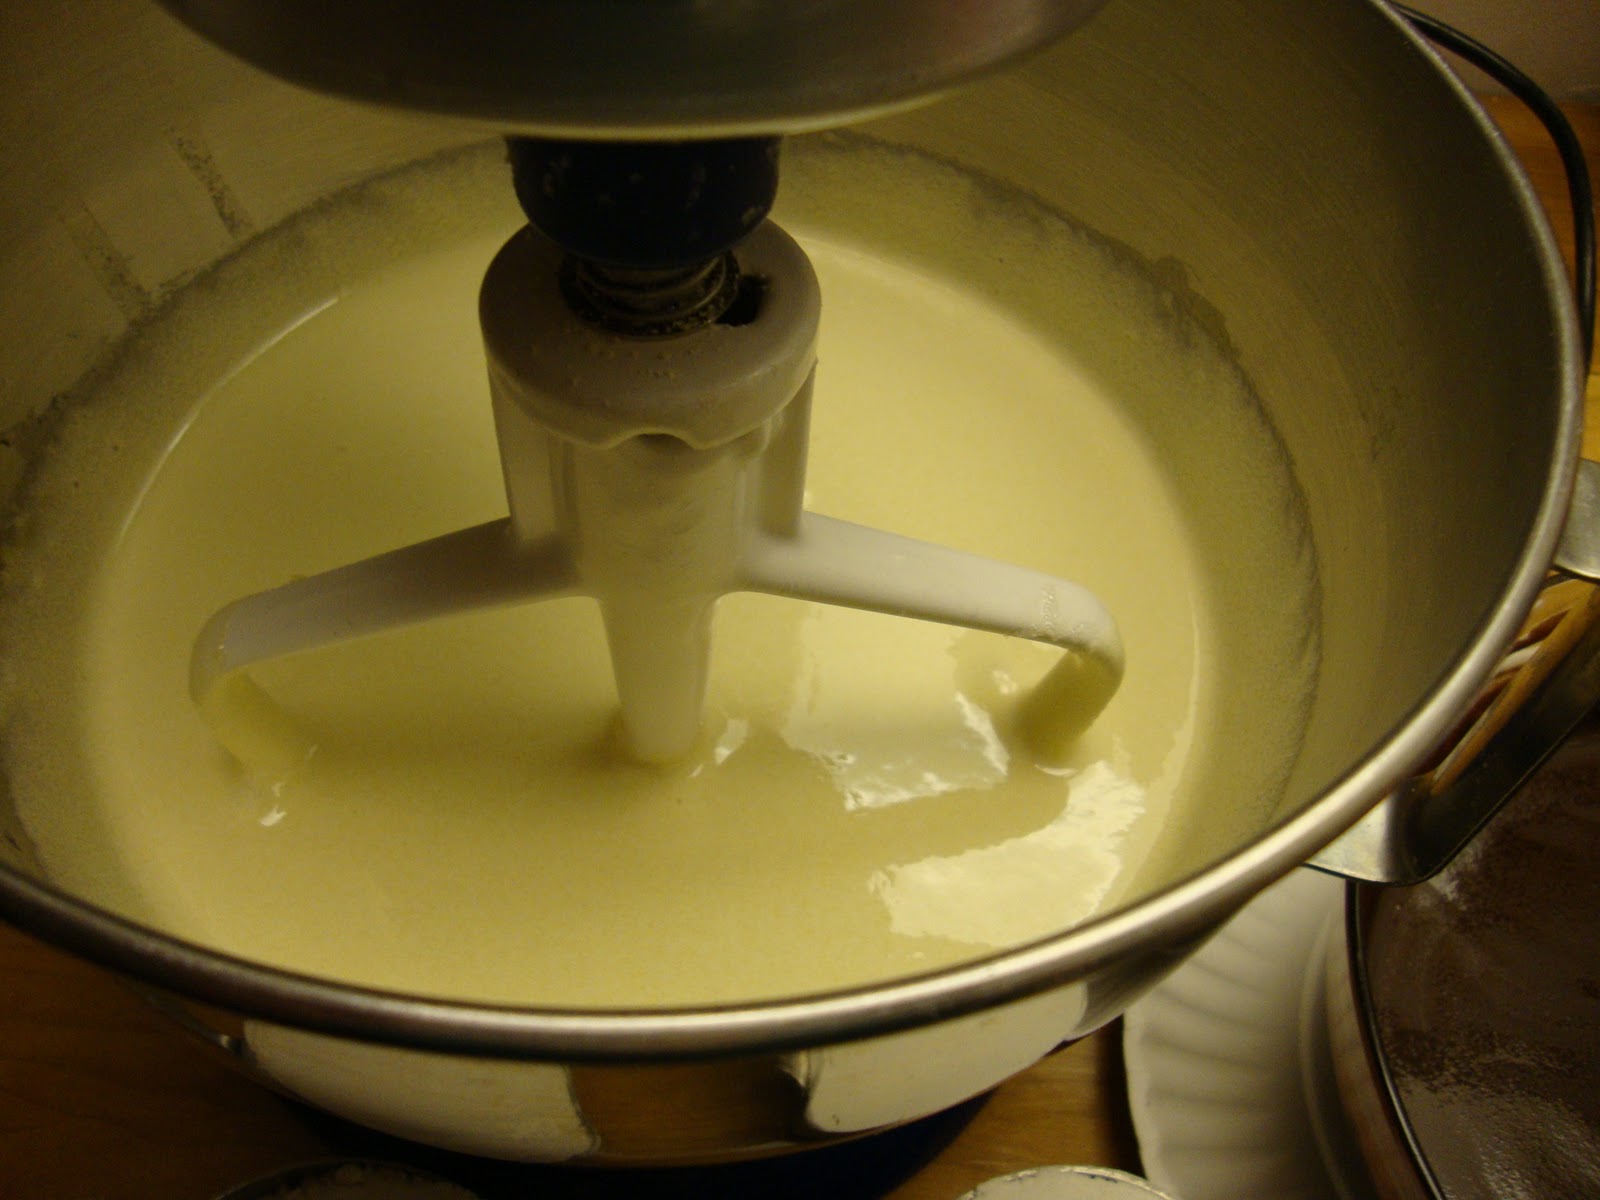
1. Make the dough.  Warm milk in a medium size heat proof bowl  in microwave for about 1 minute (do not get it too hot or the yeast will be killed when added to milk...trust me on this as I have learned the hard way).  Sprinkle yeast over milk, let sit for a couple of minutes and then gently stir to combine and set aside.  Add flour and salt into large bowl of a Kitchen Aid mixer.  Melt butter and set aside for a couple of minutes to cool then pour into flour mixture. Add in slightly beaten eggs and then milk/yeast mixture to the flour mixture.  Mix to combine.  At this point I switched over to my dough hook.  Run mixer for a good 5 minutes until dough comes away from bowl and is shiny in color. 

2. Lightly grease a large bowl and then remove dough from mixing bowl into your prepared greased bowl.  Cover with a clean damp towel and set in a warm place without any drafts.  Allow dough to rise until at least doubled in size - about an hour.

3. Remove dough from bowl onto a lightly floured and allow to rest for 15 minutes before rolling out.
4. While dough is resting make apple filling.  In a medium size sauce pan melt 3 Tbsp of butter.  Add in diced apples, brown sugar, cinnamon and cornstarch. Cook for 15 minutes, stirring every so often.


Cool apple filling as you prepare the dough for layering of all the yumminess.

5. Roll out rested dough into a large rectangle.  Mix together 1 cup brown sugar and 2 1/2 Tbsp ground cinnamon, set aside as you spread 5-6 Tbsp of softened butter over your rectangle of dough....


....and now sprinkle the brown sugar cinnamon mixture over the butter layer....


...and then finally the apple filling....


6.  Starting on a long side of the rectangle carefully roll up the dough.


 No worries if the filling comes out a little bit as you can just spoon it over the rolls once placed in pan.

7. Preheat oven to 400 degrees F. Melt 1/2 a stick of butter in a 9x13 baking pan. Remove pan when butter has melted. Cut rolled up dough into 1 1/2 inch slices - place slices in prepared pan.  Put any remaining filling on top of rolls in pan.


Pop in oven and bake for 15 minutes - rolls should be lightly browned when they are done.

8. While rolls are baking, make the icing as you will want to frost the rolls while they are still warm. In a large bowl combine cream cheese and butter.  Beat together for 3-4 minutes until light and fluffy. Slowly add in sifted powdered sugar along with vanilla extract (and caramel topping if you choose to use it). Beat all together until well combined and smooth - about 2-3 minutes. 

9. Spread icing over rolls while they are still warm. Such a lovely sight I tell ya!


Serve and enjoy this delightful treat!


Happy Apple Cinnamon Rolls with Cream Cheese (or Caramel Cream Cheese) Icing Baking!

Before I leave you, here is a picture of my precious oldest daughter and the newest addition to our family.....Mitten the Kitten :-)


Thursday, October 13, 2011

A Fall cookie recipe and a COOKIE GIVEAWAY!


Did you know that the month of October is National Cookie Month?! How fun and yummy! In honor of such a special month I want to share with you a lovely Fall flavored cookie recipe along with a fabulous cookie giveaway from Tate's Bake Shop.


Last December I had the opportunity of receiving a variety of cookies from Tate's along with their wonderful cookbook - as seen here. When I was contacted once again to review one of their newest kind of cookies -Whole Wheat Dark Chocolate Chip - I jumped for joy!  Dark Chocolate is one my all time favorite kinds of chocolate. Honestly, I like any kind of chocolate but dark chocolate is pretty special.


  Let me tell you when I took my first bite of one of these cookies my eyes feel back into my head with happiness.  SO good!  The cookies are chewy yet crisp - the best of both worlds.  And the taste is perfect - not too sweet with plenty of dark chocolate chips throughout the
cookie.

If you would like THREE  (yes, THREE) bags of these cookies along with the Tate's Bake Shop cookbook please feel free to enter this giveaway. You can do so three ways...

  1. Leave a comment at the end of this post. Any kind of happy comment is welcome.

 2. Follow Tate's Bake Shop on Facebook here (just let me know that you've become a follower of Tate's via another comment below).

3. Become a follower of Baking and Creating with Avril on FB - make sure to leave a comment on my FB page to let me know you are one of my newest followers. 

That's THREE opportunities to win this giveaway!  You can do it!


Winner will be chosen this coming Sunday evening (10.16.11) - all entries must be received by 12 noon on Sunday.  Winner will be announced Sunday night.  I can't wait to find out who the winner is!

AND the good news is that everyone that reads this post can go over to Tate's e-bakery and order anything they would like with a 15% off discount for the remainder of the month of October.  Just enter "COOKIE" at checkout.
 SAWEET! :-)


Now I get to share with you the fun Fall cookie recipe I recently made.  This cookie recipe would be a great treat for kids, especially for an after school snack as these cookies are super easy to make and bake in a jiffy!


Apple Cinnamon Chip Cookies
(recipe slightly adapted from So Domesticated)
 Ingredients:
2 Granny Smith apples (or any kind of baking apple), peeled and chopped
1 tsp lemon juice - keeps the chopped apples from browning
3 cups Bisquick
1/2 cup brown sugar
1/2 cup sugar
1 1/2 tsp ground cinnamon
1/2 cup half and half (I used 2% milk instead with success)
1 egg
1 cup cinnamon chips (I added this to the original recipe)

Directions:

1. Preheat oven to 350 degrees F. Line cookie sheets with parchment paper or lightly spray with non-stick baking oil.

2. Peel and chop apples into small pieces.  Place apples in a bowl and toss with lemon juice. Set aside.

3. In a large bowl mix together Bisquick, both sugars and ground cinnamon.  Set aside.

4.Whisk together half and half (or milk) and egg.  Pour into Bisquick mixture and stir to combine.

5. Add in chopped apples and cinnamon chips. Stir to combine.

6. With a medium ice cream scoop, drop dollops of cookie batter onto prepared cookie sheets.  Bake for 12-15 minutes or until edges are lightly browned.  Makes a good 2 dozen cookies.  Store cookies covered in a tightly sealed container. 

Enjoy!


Happy Apple Cinnamon Chip Cookie Baking!

 And good luck with the Tate's Bake Shop giveaway! :-)


Friday, December 31, 2010

WINNER of Tate's Cookies Giveaway and The FASTEST Cookies EVER

Drum roll PLEASE! - In honor of the New Year I'd like to announce the winner of the Tate's Cookies and Cookbook Giveaway! I punched in the appropriate numbers (1-42) into random.org and the lucky number that was chosen was......

#5!!!  Yes,  the WINNER is Laurie!  The wonderful Laurie from cookin' up north.  Congrats Laurie!!!


Along with the above happiness of announcing the winner of Tate's Giveaway I want to share a lovely cookie recipe.  One of the very FASTEST cookie recipes ever.....and yummy too! - full of cinnamon-y flavor, studded with oatmeal and plump raisins.  Yes, Oatmeal Raisin Cookies is what I'm about to share with you made and baked in a flash.


All you have to do is blink because once you do this recipe is mixed together and ready to be scooped into little balls onto cookie sheets and thrown placed into the hot oven.

Here we go....


Fastest EVER Oatmeal Raisin Cookies
(recipe discovered on TK and slightly altered from TK member carolinacollegcook)

Ingredients:

2 eggs

1/2 cups veggie or canola oil (I used canola)

1 box (18oz) Yellow Cake Mix (moist variations work best)

1 1/2 Tbsp cream - 1/2 and 1/2, light or heavy will all work well (I used heavy)

1 tsp ground cinnamon

3/4 cup raisins

3/4 cup oatmeal

Directions:

1. Preheat oven to 350 degrees F.

2. Beat eggs in a large bowl.  Add in oil then cake mix and cinnamon and stir/beat until thoroughly incorporated.

3. Add in cream and then raisins and oats.  Make sure everything is incorporated fully.

4. Place scoops of cookie dough on lightly greased or parchment lined cookie sheets.  Bake for 8-10 minutes or until edges are lightly browned.   Cool cookies for a couple minutes on cookie sheets and then remove to cooling racks.

Enjoy with a nice cold glass of milk!


Happy FASTEST Ever Oatmeal Raisin Cookie Baking!


Saturday, December 18, 2010

A Dessert Dip and a Special Cookie GIVEAWAY


Yahoo!!! - another giveaway!  And what a perfect giveaway for the last week of the 12 Weeks of Christmas Cookies because it involves COOKIES!!!  A couple of weeks ago I was sent a lovely box full of treats from Tate's Bake Shop located in the Hampton's, NY.  THREE boxes of cookies and a fabulous cookbook from Tate's was included in that box....everything that you will receive if you WIN!  Yes, a package of 3 boxes of scrumptious kinds of cookies  (Oatmeal Raisin, White Chocolate Chip Macadamia Nut and  Chocolate Chip) AND a cookbook from Tate's Bake Shop in The Hampton's, NY  goes to the lucky winner of this giveaway.


The cookies were delicious!  The White Chocolate chip Macadamia and Chocolate Chip cookies are tender and sweet with a lovely crispness while the Oatmeal Raisin cookies just melted in my mouth with a softness that can not be resisted.


  And the cookbook is fabulous!  I can not wait to dive into the ear-tagged pages of recipes.  I want to make the White Chocolate Brownies, Raspberry Squares, Hermits, Double Peanut Chocolate Brownies and Toffee Pecan Cookies.....to name a few. ;-) Keep your eyes open for some of these recipes coming your way on my blog in the future.

Here are the rules....

1. All you have to do to enter to win this giveaway is leave a comment at the end of this post.  Tell me anything....what you did this morning, what your plans are for the holidays or even what your most favorite kind of holiday treat there is out there (whether it be a sweet baked goodie or something savory).

2. For an extra entry become a "fan" of Tate's Bakery page on Facebook - just be sure to leave another comment to let me know you have done so.

3. This giveaway is only open to U.S. residents...I'm so sorry to all the foreigners!

4. A 15% off discount at Tate's online store is available up until the 31st of December.  Just enter "cookie" at the end of your purchase.

5. All entries will be accepted up until 12 midnight of Tuesday 12/21/10.  Winner will chosen with the help of random.org.
Now onto my last recipe for the 12 Weeks of Christmas Cookies 2010....

Goodness it is the LAST week of the 12 Weeks of Christmas Cookies!  How in the world did that happen so quickly?  Wowsers....time flies!  I have had so much fun with this baking group.  I have made many, many new friends, gained access to tons of fabulous blogs and recipes and I seriously can  not wait until next year to participate again!  Many, many thanks to April of Abby Sweets for organizing such a great baking group!


In honor of the last week of this fabulous baking group I would like to share with you a simple and oh-so-d'lish dessert dip called, Chocolate Chip Cookie Dough Dip.  I had seen this recipe floating around blog land recently and decided to try my hand at it when I came upon it at one of my very favorite food blogs, Brown Eyed Baker.

Brace yourself for this treat now.  It is super, super easy to whip together and will be a HUGE hit to everyone that dips into it.  They will be begging you for the recipe...yes, begging you. 

Chocolate Chip Cookie Dough Dip
(recipe from the very talented, Brown Eyed Baker)


Ingredients:

1 stick butter (I used unsalted)

1/3 cup brown sugar

1 tsp vanilla extract

1 (80z.) package of cream cheese

1/2 cup powdered sugar

3/4 cup mini chocolate chips

Directions:

1. In a small saucepan over medium heat melt butter with brown sugar.  Stir constantly until the brown sugar has dissolved.   Remove from heat and then whisk in vanilla extract.  Set saucepan aside and cool.

2. Beat together cream cheese and powdered sugar while butter/brown sugar mixture is cooling. 

3. Slowly beat in cooled butter/brown sugar mixture into the cream cheese mixture.  Beat for a full minute on medium speed then with a wooden spoon or plastic spatula gently stir in mini chocolate chips.

4. Pour dip into a serving bowl and refrigerate.  Garnish with more mini chips before serving if you wish.  Serve dip with cookies of your choice - graham cracker sticks or vanilla wafers go great with this dip!

YUM!  Enjoy to the fullest!


Happy Chocolate Chip Cookie Dough Dip Making!

Week 12 Twelve Weeks of Christmas:

Thursday, December 9, 2010

WINNER is announced and a LOVELY PD Gelatin Salad

OMHappiness!!!!  The WINNER has been chosen for the yummy True Nuts give-away! 


I'm delighted to announce that the #10 comment on my give-away post has been drawn from random.org.....YES, the lovely Ingrid of Baseball, Baking and Books has been chosen! Congrats Ingrid!  I will be contacting you soon to get your home address to mail away your yummy nuts.  :-)


Along with my happiness over Ingrid winning The True Nut give-away I'm delighted to share with you a very special recipe.  Special in what way you ask? Well, let's just say that I have finally come across a PD (Paula Deen) recipe that does NOT contain butter.  That's right NO butter exists in this recipe from the sweet southern gal we all love.  I know, I know this may not really be fair because the recipe I'm about to share with you is a gelatin mold salad so why would it even be possible for butter to be an ingredient in it?  Just wondering....have you ever heard of a gelatin mold that has butter in it?  Me neither (so far).  But the reality of this d'lish gelatin salad mold that PD created is that it has a lovely nutty cream cheese filling that could easily have a little butter added to it......but PD held herself back and didn't do it!  I'm proud of you girl! ;-)


I made this gelatin salad for Turkey Day.  It was a BIG hit and it was easy to put together along with wonderful flavors from the combination of pineapple, cranberry and raspberry.   I will definitely be making this recipe again....most likely for Christmas dinner.

Cranberry Pineapple Gelatin Salad
(recipe from Paula Deen)

Ingredients:


2 (3oz.) packages raspberry gelatin

1/2 envelope unflavored gelatin

1 cup boiling water

1/2 cup cold water

1 (8oz.) can crushed pineapple in its own juice

1 (15oz.) can whole cranberry sauce

1/4 cup finely chopped walnuts (optional....I didn't add these)

Filling Ingredients:


1 (8oz.) package cream cheese, softened

1/4 cup powdered sugar

2 Tbsp whipping or heavy cream

1/4 cup chopped walnuts


Directions:

1. Spray a 4 cup gelatin mold or a 9x9 square pan with non-stick spray.  Set aside.

2. Combine 2 boxes of raspberry jello and non-flavored gelatin in a glass bowl.  Add in 1 cup boiling water...


 and stir with a metal spoon until the gelatin is completely dissolved - about 2 minutes of continual stirring.

3. Stir in 1/2 cup of cold water.

4. Add the crushed pineapple (and it's juice) along with cranberry sauce and chopped nuts (if you wish).....


  Stir well with a metal spoon until all ingredients are completely incorporated.

5. Pour mixture into prepared mold....


  Cover with plastic wrap and refrigerate until firm - at least 4 hours (or overnight as I did).

6. Make filling by combining softened cream cheese, powdered sugar and whipping/heavy cream....


  Beat until smooth with a hand held mixer.  Add in chopped nuts and mix to combine. Set aside.

7. About an hour before serving gelatin salad remove from refrigerator and invert onto a serving platter.  Allow to sit at room temperature and the mold will release itself and come clean from the mold. 

8. Once gelatin has been removed from mold gently fill or top with filling....


Yummy!  What treat of a gelatin salad!

Happy Pineapple-Cranberry Gelatin Salad Making!


Saturday, December 4, 2010

A NUTTY Give-Away with SUPER Special Brownies

Hooray for another weekend!  In celebration of the weekend and the 10th week of the 12 Weeks of Christmas Cookies I would like to share with all of you a fabulous GIVE-AWAY! Yes, a GIVE-AWAY!!!!!!

A couple of weeks ago I attended a local Thanksgiving Farm Fair at Stonewall Farm (such an amazing facility/farm we have here in Southern NH!).  As I was filling my bags of locally made beautiful handmade gifts I came across a table that was laiden with some of the most delicious nuts I had ever tasted from yet another local company called, The True Nut.  I had sampled their nuts before and already knew how much my taste buds enjoyed them (SO yummy!) but then as I introduced myself and started chatting further the owner of the company (Steve Ryder) I knew I had come across a gem.  Not only did Steve hand me over a bag FULL of a variety of his fabulous nuts but he was super nice!  The fun part about his company is that it was started to show his daughter how a business could be started and ran successfully with the hopes that a little bit of money could be made.  Steve did this and more for now his treats are well known and full of positive outcomes.  I feel honored to be able to give away some of The True Nuts and I know you will enjoy them too!


Enter to win all FOUR packages of nuts that you see in the above picture just by leaving a comment at the end of this post or on my Facebook page for Baking and Creating with Avril.  To double your chances of winning visit The True Nut website and come back to tell me something that you enjoyed discovering from your visit to their website.  Winner will be chosen at random.  Contest will be closed 12 midnight on Monday 12/6/10.

And now without further delay here is a wonderful brownie recipe for the holidays.....York Peppermint Paddy Brownies  (rich in chocolate flavor with a peppermint paddy surprise in the middle)....in honor of the 10th Week of The 12 Weeks of Christmas Cookies....


York Peppermint Patty Brownies
(from the lovely Jaime Cook's It Up! blog...goodness do I adore her recipes!!!)

Ingredients:


1 cup butter

8 - 1 oz. squares unsweetened chocolate

5 eggs

3 3/4 cups sugar

2 tsp vanilla extract

1/2 tsp salt

1/2 tsp almond extract (optional)

1 2/3  cup flour

1 cup semi-sweet chocolate chips

1 1/2 bags York Peppermint Patties (generic brand is not recommended from Jaime)

Directions:

1. Preheat oven to 425 degrees F. Line the bottom of a 9x13 pan with tin foil and spray with non-stick spray.

2. Place unsweetened chocolate and butter in a microwave safe bowl.....


  Microwave for 30 seconds at a time, stirring after each cooking interval.  Continue to cook and stir until chocolate and butter are fully melted.  Set bowl aside.

3. In a mixing bowl combine eggs, sugar, vanilla extract, salt and almond extract (if desired).  Beat for 3-4 minutes until smooth and thick....


4. Add in the melted chocolate/butter mixture and flour.  Mix until incorporated.  Stir in chocolate chips....


5. Spread  1/2 the brownie batter into prepared pan....a butter knife will help if need be....


6. Unwrap the peppermint patties and place them all over the brownie batter.....


  Carefully spread the remaining 1/2 of batter over the peppermint patty layer.

7. Bake for 25-30 minutes.  This is the tricky part. You don't want to over-bake the brownies....I found that my brownies were done once the sides of the brownies came away from the side of the pan and my toothpick had just a few crumbs of brownie batter stick to it.

Cool on a wire rack and then refrigerate for a good 6 hours or overnight.  Cut into squares (small squares are a good idea for these special brownies are RICH in flavor).


Enjoy your brownies along with browsing through all the other d'lish cookie, bar and candy recipes from the 12 Weeks of Christmas Cookies group.


Happy Peppermint Patty Brownie Baking!


Week 10 Twelve Weeks of Christmas:

Wednesday, October 13, 2010

A Giveaway (yahoo!!) AND a Halloween Treaty

Do you ever set goals for yourself?  Well, sometimes I do.  I like making goals because when they are accomplished I feel successful which then makes me feel happy! - it is a win win situation in my mind...especially if my "goal" has been reached. :-)

One of my "goal setting" moments recently has been with my blog and being part of the food blogging world.  When I first started to build my blog I did a lot of browsing through other food blogs and picked out what I really liked about them.  From there I formed a list as to what I wanted to include in my blog.  Such things as having a "print friendly" button was important along with making labels of the kinds of foods I blogged about so that recipes could be easily searched and found.  I also wanted to increase the traffic/visits to my blog.  I am still learning the best way to do this but with time and more experience I think I will learn the ins and outs of what attracts people to my blog and then make it happen!

I have recently won two (yes, TWO) separate giveaways on other food blogs (Thanks Monica and Ingrid...hugs and gratitude to the both of you for your lovely giveaways).  Can I tell you that everyone around me would think that I had just won the lottery each time I discovered I had won one of these giveaways.....I was out of my skin with excitement!!! And yes, winning a giveaway has also been on my "goal list" - yahoooie I have been able to cross off that one (twice!!!).  So that being said, it is time for me to make someone else just as happy (I hope) as I was when I won my giveaways and give away a little somethin'
somethin' on my blog.

Here you go.....some food tattoos (don't they look fun!?!) and a cutie patootie dish brush (that is actually named "Baker"....such a perfect name in my eyes coming from a woman that LOVES to bake herself!).


How do you win these two little treasures?  All you have to do is leave a comment telling me what you have to celebrate today (one or two simple things is great) here on my blog or on my Baking and Creating with Avril facebook page (don't forget to become a fan on FB if you have yet to do so)...and yes, you can comment in both places to increase your chances of winning.   I will start first....

*Today I am celebrating the fact I had energy to clean my kitchen (see, something small is fine).

* I am also celebrating the reality that it was a beautifully sunny Fall day outside.  Happy Fall Y'all!

*Oh, and one more thing I am celebrating today is that the Keene PD is giving out FREE pumpkins!!!! Fun and just in time for the Pumpkin Festival this coming weekend. :-)

*Lastly (but oh so gratefully) I am celebrating the fact that I have 70 followers now on my blog!!!!!  Thank you, thank you one and all for following my blog!

I will announce the winner of my giveaway Saturday a.m. Last entrance will be excepted no later than Friday @ 12 midnight.  All entrants will be placed in a hat and picked at random.

Now to move onto my Halloween Treaty.....super easy to make and VERY fun to involve kiddos in the making of it.  I first saw a version of this treat from my friend Astrid.  She makes huge batches of these fun treats at Christmas time.  I thought it would be fun to make them for Halloween by just switching up the kind of candy I used geared for Halloween.


Sweet and Salty Halloween Treats

Ingredients:


*Pretzels

*Hershey Kisses (I used the striped white and milk chocolate kind)

*Candy Corn


Directions:

1. Preheat oven to 350 degrees F.  Line a cookie sheet with parchment paper.  Place pretzels on cookie sheet....


2. Unwrap Hershey's Kisses....


...can you tell how happy Jo was to be soooo up close and personal with the HK's??? :-)

3. Place HK's on top of pretzels....


 ....and then place filled cookie sheet in oven.  Bake for 4-5 minutes but no longer - just until HK's start to get shiny.  Take out of oven and place candy corn on top of HK's....


....gently pushing CC's into chocolate.

4. Cool and then transfer to serving platter or wrap up in cute packages to give away.


Happy Sweet and Salty Halloween Treats Making and good luck on the giveaway!


LinkWithin

Related Posts with Thumbnails

ShareThis