Image Map

Monday, June 24, 2013

Cilantro Rice Salad


 I have to say that making summer-time salads has become my new obsession happiness.  I still adore baking sweets and treats but I honestly think that my next favorite category in the kitchen has become making those special salads that can be added to bbq's, picnics and warm weather celebrations. 
 
I love that you can take a grain or pasta and create a cold salad packed with veggies and herbs and then tossed with a simple vinaigrette.  Viola perfection of delicious-ness!
 
Recently, I was browsing through the recipe index on Mom's Test Kitchen's to find a recipe to make for my June's assignment for the Secret Recipe Club.  First of all let me tell you Jaime has a FANTABULOUS collection of recipes on her blog! Apple Cinnamon Pancakes first caught my attention until I spotted her Craisin Cinnamon Roll Coffee Cake.  But then, like I have mentioned above,  summer-time salads have been really grabbing hold of my taste buds lately so when I noticed Jaime had a recipe for Corn, Tomato and Asparagus Salad I had a feeling I was going to sway towards the savory side of my taste buds instead of my usually SWEET side.  Well, then all bets were off.  I discovered a recipe for Cilantro Rice Salad and knew I had picked a winner!  I was SO right. SO right I say!  This lovely little treasure of a summer-time salad is completely and insanely delicious. And it is made with very little effort, simple ingredients and a versatile recipe on top of all that.  Jaime's original recipe called for serveral ingredients that I didn't have on hand (a red pepper, limes and green onions) so I substituted in a couple different veggies for those that I didn't have and the salad came out completely fine.  I also added in some cherry tomatoes for color and taste. Although I used the juice of one lemon and was happy with my substitution for the missing limes called for in the recipe, next time I will definitely use fresh lime juice as I believe that lime and cilantro are meant to be together always and forever. 


Find an excuse to make this salad.  Crash a BBQ, invite your favorite people over to your own party or make it just because you deserve a yummy treat.  Just make this gosh-darn-delicious salad!! Do. It.
 
 
Cilantro Rice Salad
(recipe slightly adapted from Mom's Test Kitchen)
 
Salad base ingredients:
2 cups chicken broth
1 cup rice (I used long grain white)
1/2 chopped fresh cilantro
1 green or red pepper, chopped (my addition)
1/2 cup green onions, chopped (I used regular onion as I didn't have the green onions on hand)
1 cup cherry tomatoes, cut in half (my addition)
juice of 3 limes (I used juice of 1 lemon instead...it was yummy)
 
Dressing ingredients:
1/3 cup canola oil
1 Tbsp red wine vinegar
1 Tbsp Worcestershire sauce
1 Tbsp cumin
1 tsp garlic salt (my addition)
ground pepper to taste
 
Directions:
 
1.  Bring chicken broth and rice to a boil in a medium/large sauce pan.  Once broth comes to boil, cover pan tightly and turn heat down to a simmer.  Simmer rice for 15-20 minutes until liquid is gone and rice is fluffy.  Cool rice at room temperature or in fridge.
 
2. Make dressing for salad while rice cools.  In a large bowl whisk together lime (or lemon juice), oil, red wine vinegar, Worcestershire sauce and cumin.  Add in cooled rice and chopped veggies to the dressing. Toss all together.  Refrigerate until desired time to eat and ENJOY!!  
 
 
Happy, Happy Cilantro Rice Salad Making!


Monday, May 27, 2013

Peanut Butter SURPRISE Cookies

 
I love surprises.  I love giving surprises and I love receiving surprises.  The idea of providing absolute happiness and delight to someone in my life via a surprise (of any kind) is a complete joy for me. 


Once a month I receive a fabulous surprise from the Secret Recipe Club.   The "surprise" is just like a present that I carefully open up with no idea of what will be inside.  In this case I am opening up an email to find out which food blog I have been assigned for the month through the SRC.  I am always delighted with my surprise.  Discovering a new food blog and it's collection of recipes is so much fun! 
 
 
This past month I was given the surprise of A Cook's QuestJenn's collection of recipes on her blog is wonderful!  I was in complete HEAVEN over all her delicious recipes she has made and blogged about.  It was not an easy job for me to pick just one recipe to make.  I wanted to make her Cream Cheese Banana Bread along with her Strawberry Cream Puff Cake. In the end I decided to make cookies...Peanut Butter SURPRISE Cookies.  Soft PB cookies that surround a perfect chocolate surprise.  Nothing could be better! 


Peanut Butter SURPRISE Cookies
                     (recipe from A Cook's Quest)
 
Ingredients:
1 1/4 cup flour
1 tsp baking powder
3/4 tsp ground cinnamon
1/2 cup butter, at room temperature
1 cup packed brown sugar
1 cup smooth peanut butter
2 eggs
1 tsp vanilla extract
1/2 tsp salt
12-20 chocolates (I used Brach's Milk Chocolate Stars....Jenn used Promise chocolates....Hershey kisses would work fine too I'm sure.)
Raw sugar for sprinkling on top of cookie (if desired)
 
Directions:
 
1. In a medium bowl combine flour, baking powder and ground cinnamon.  Set bowl aside.
 
2. Beat together until light and fluffy butter and brown sugar.
 
3. Add in peanut butter to butter and sugar mixture.  Mix well all together and then add in 2 eggs, vanilla extract and salt.
 
4. Carefully add in flour mixture to wet mixture.  Mix until all of flour mixture has been fully incorporated.
 
5. Chill cookie dough for at least 2 hours.  The longer the dough is chilled the easier it will be to work with.
 
6. Heat oven to 350.  Line cookie sheets with parchment paper or use stoneware.  Scoop desired size of cookie and quickly flatten with your fingers.  Place flattened cookies on prepared cookie sheets and then put your chocolate on top.  Put another scoop of dough on top of chocolate and carefully surround the chocolate and cookie dough beneath it. Sprinkle cookies with raw sugar if desired.
 
7. Bake for 12-14 minutes for small cookies or 15-18 minutes for larger cookies or until edges of cookies are a light brown. Cool slightly and enjoy!  Store in a tightly covered container to keep cookies soft.


Happy Peanut Butter SURPRISE Cookie Baking!


Monday, April 29, 2013

Carrot Cake Muffin Bars {for April's SRC}


Do you ever enter into someone's home and feel like you never want to leave?  You know that kind of home that is just so beautiful and welcoming that you just want to wrap all the comfort it gives out around you.  I always feel like this when I go to my mom and dad's house.   This month when I opened up my assigned food blog to Eat, Live, Run from the Secret Recipe Club I immediately felt like I never wanted to leave! Just like I feel when I enter into the happiness, warmth and beauty of my parent's home.  Everything about Jenna's blog is just full of lovliness and delicious-ness.  Her recipes are completely beautiful along with the way she presents and describes them.  And then of course the reality that last Fall Jenna released a novel called, White Jacket Required - which by the way has been on my wish list over at amazon.com - I felt even more compelled to just tuck myself into one of the corners of her kitchen just so that I could soak up ALL the amaziness, knowledge and love of food that she has.   I don't think she would mind, do you?


 Instead of stealing away into Jenna's kitchen I settled for making one of her recipes.  I made her Carrot Cake Muffin Bars.  Deelish!  A bar that has many of the ingredients that are in a carrot cake is a dream come true for me.  Shredded carrots, raisins (my addition), walnuts and then of course oats all come together to make one fantabulous little treat.  You could enjoy this bar at breakfast, lunch, tea or dessert.  Personally I enjoyed nibbles and bites of these bars ALL. DAY. LONG.  Hey, sometimes that is just what you've got to do.  You can't waste a good thing!  But, you can SHARE a good thing right!? Thus I share with you the recipe to Jenna's Carrot Cake Muffin Bars .


Carrot Cake Muffin Bars
              (recipe from Eat, Live, Run )

Ingredients:

3/4 cup brown sugar, packed
1 stick butter, softened
1 egg
1/4 milk
3/4 cup flour
1 tsp cinnamon
1/2 tsp salt
1 tsp baking powder
1 cup oats - old fashioned or quick
1 cup grated carrot (2 medium or 1 large carrot)
1/2 cup chopped walnuts
1/2 cup raisins (my addition)

Directions:

1. Preheat oven to 350 degrees F. Grease a 9x9 square pan and set aside.

2. In a large bowl whisk together dry ingredients of flour, salt, baking powder and oats. Set bowl aside.

3. Cream together butter and brown sugar until light and fluffy.  Add in egg and beat well until smooth.  Add in milk slowly while mixer is on low speed.  Then add in dry ingredients. Mix all together to combine.

4. Add in grated carrots, walnuts and raisins (if you wish).  Mix until just combined. 

5. Pour batter into prepared pan and bake for 25-30 minutes. Edges of the bars will be come away from the sides of the pan and the center will not jiggle if gently touched when done.

Cool to desired temp, cut, serve and enjoy!


Happy Carrot Cake Muffin Bar Baking!

Sunday, April 7, 2013

FRESH Strawberry Crumble Cake


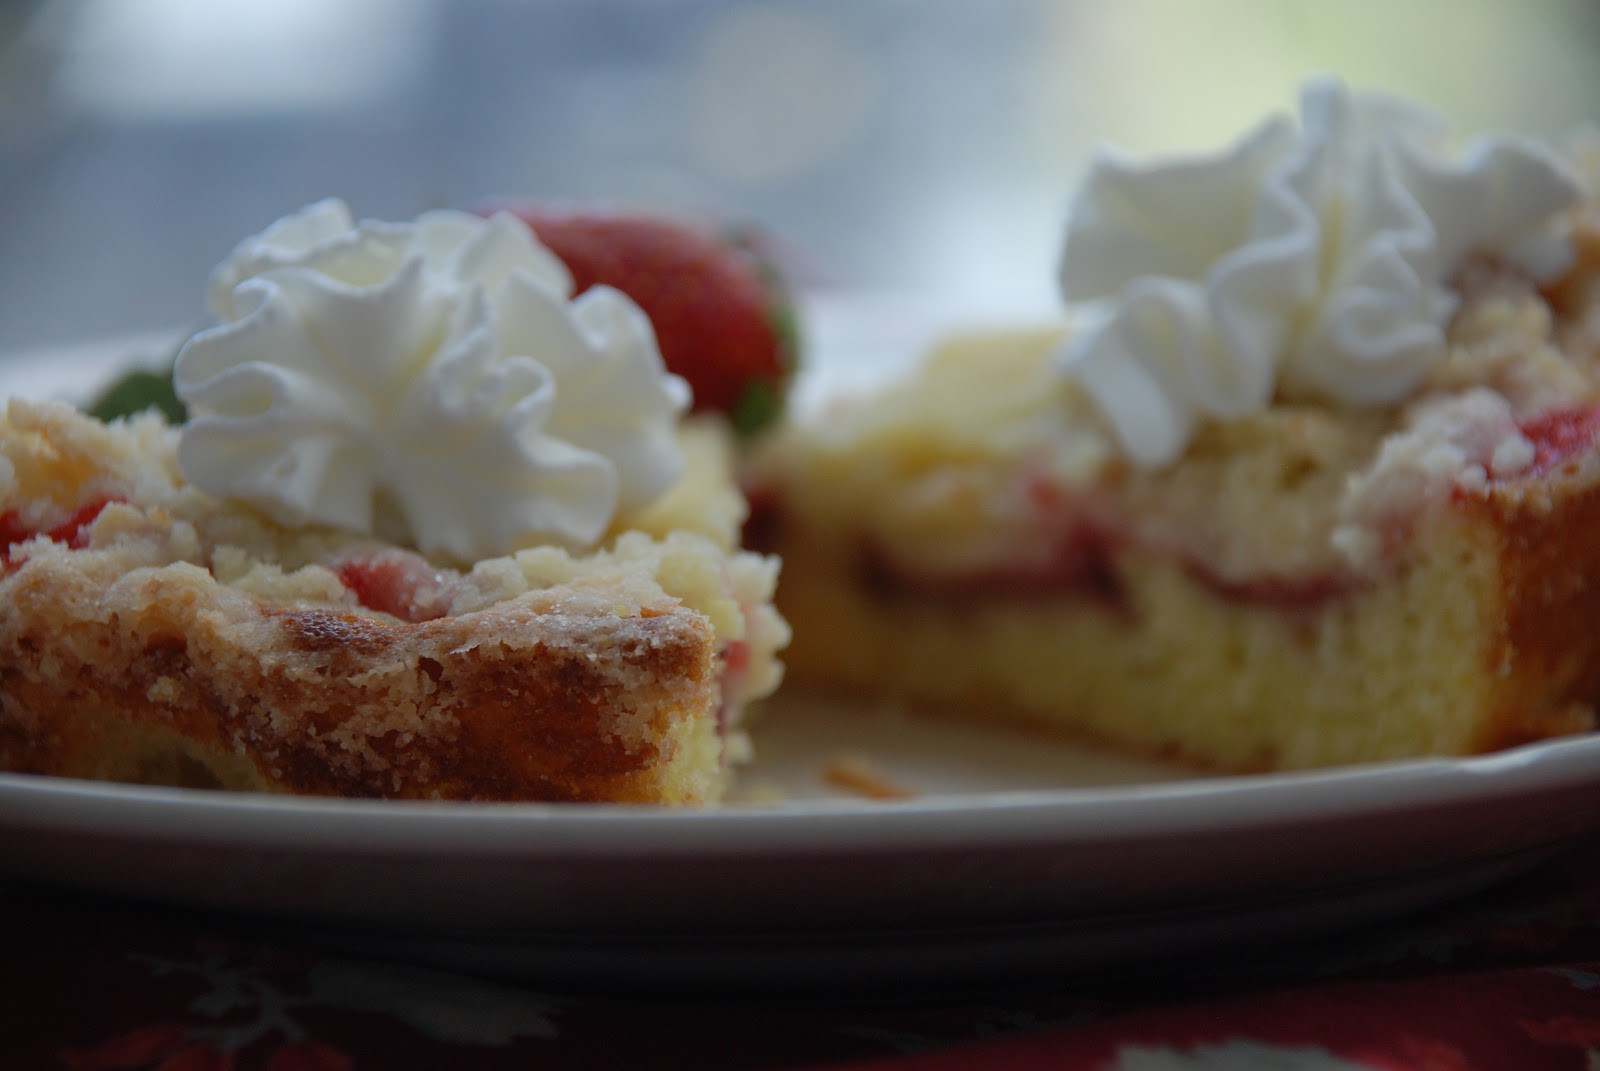
Strawberries have always been one of my all time favorite fruit.  They are beautiful.  They are RED.  And they are delicious....most of the time.  Lately the fresh strawberries in the market are definitely a beautiful red but their flavor is lacking in sweetness and are often quite tart.  In an effort to not waste the beautiful strawberries I had I decided to bake them into a cake.  I did a little search and research on the web and came up with a lovely recipe that fit my needs fully.  A simple cake that called for FRESH strawberries and tasted wonderful.  What more could I ask for! 


I was completely delighted with how easy this cake was to whip together.  Simple ingredients along with just a pie plate was all that is required to accomplish this recipe.  In the end you will have a beautiful cake that can be served anytime of the day.   My family enjoyed a slice for breakfast, as an afternoon snack for my girls, it paired lovely with a hot cup of afternoon tea for me and then of course served along side a scoop of vanilla ice cream or a dollop of whipped cream was also just perfect!
 
 
FRESH Strawberry Crumble Cake
(recipe discovered on Feathered Nest Studio which was then linked to Southern Food about.com)
 
Cake Ingredients:
1 cup flour
1/2 cup sugar
2 tsp baking powder
1/2 tsp salt
1/2 cup milk
1 egg
2 Tbsp melted butter
1 1/2 cups fresh strawberries, sliced
 
Crumble ingredients:
1/2 cup flour
1/2 cup sugar
1/4 cup COLD butter, cut into small cubes
1/4 cup chopped nuts (optional...I did not use nuts)
 
Directions:
1. Preheat oven to 375. Grease well a glass or ceramic pie plate (an 8x8 square baking pan would be fine too) and set aside.
 
2. In a large bowl sift together flour, sugar, baking powder and salt.  Whisk well all together.
 
3. Add in egg, milk and melted 2 Tbsp of butter to flour mixture.  Beat all together for 2 minutes and then pour and spread evenly into prepared pie plate.
 
4. Arrange sliced strawberries on top of cake batter.
 
5. Make crumble topping by adding together in a medium size bowl flour and sugar.  Add in COLD cubed butter. Cut into dry ingredients with a pastry cutter or with your fingers until mixture becomes small coarse crumbs.  If using chopped nuts add in now.  Sprinkle crumble topping evenly over sliced strawberries.
 
6.  Bake for 25-30 minutes or until edges of cake are a nice golden brown and a toothpick comes out clean if inserted into center of cake. Cool cake to desired temperature and serve.
 
YUM!
 
 
Happy FRESH Strawberry Crumble Cake Baking!
 
 
Here are a few other recipes that call for STRAWBERRIES on my blog...
 
 This recipe has been linked up to What's Cookin' Wednesday @ Buns In My Oven
 

Monday, March 25, 2013

Banana, PB &Jelly Breakfast Shake (for March SRC)


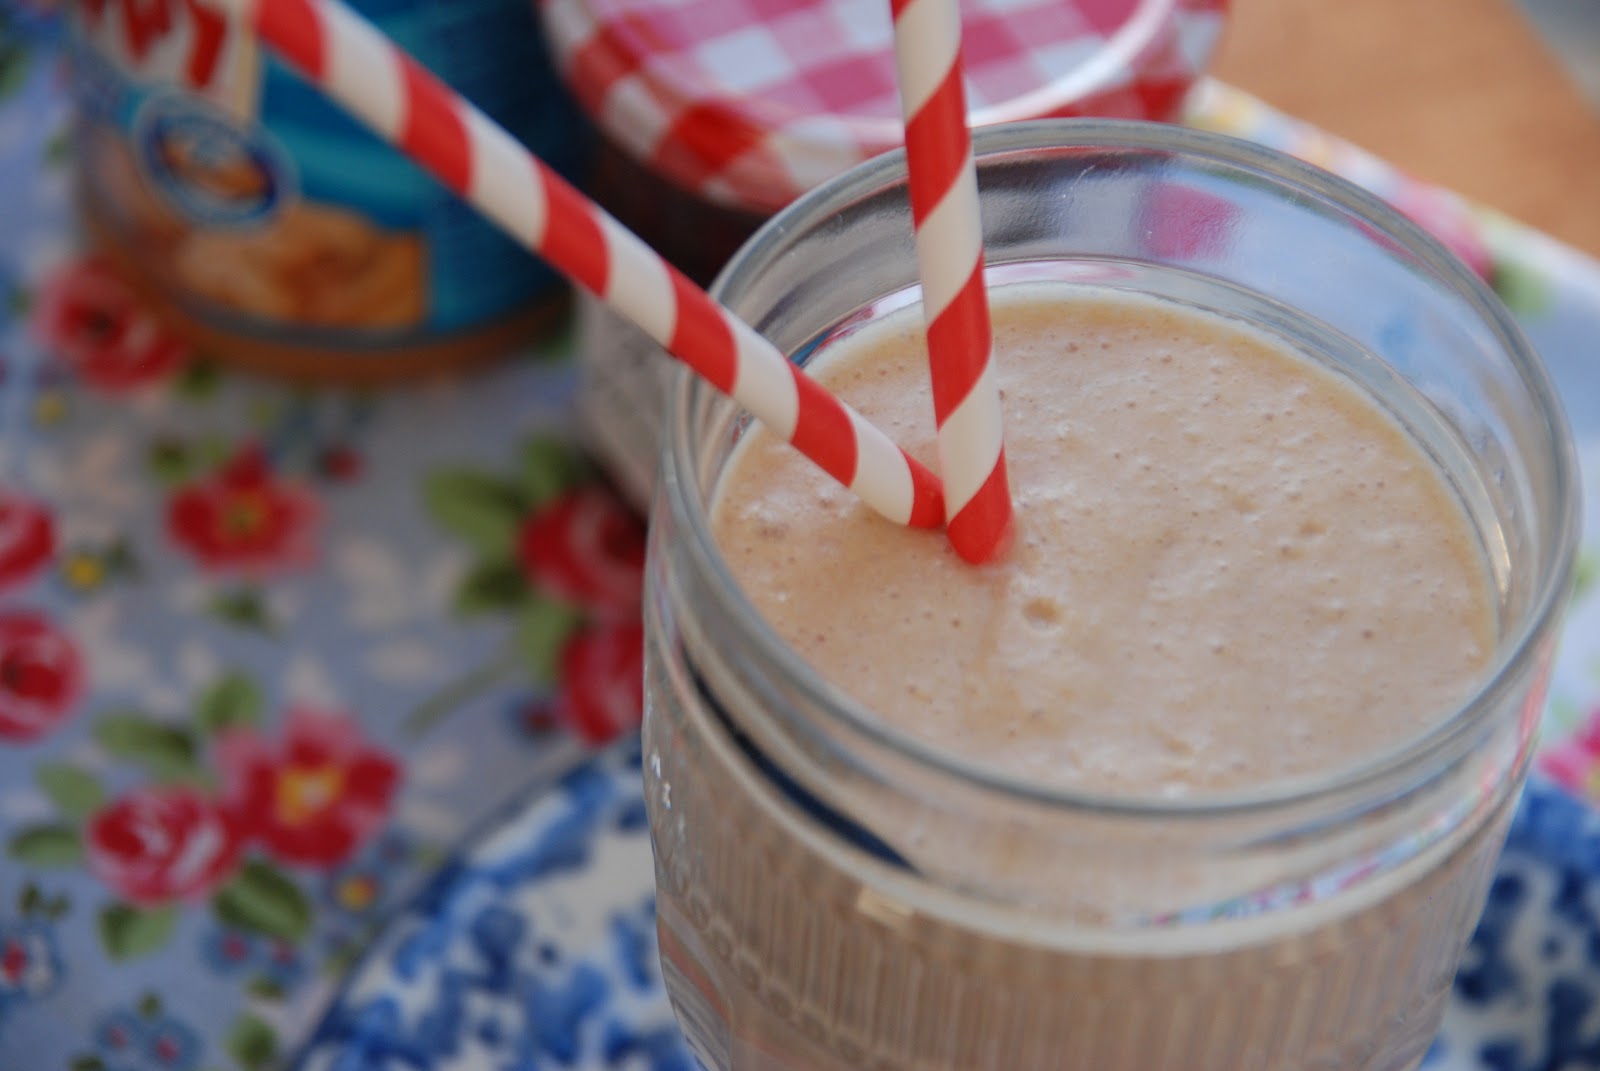
Ahhhh the beauty of a shake! There is nothing better than a cold frosty shake in my book. Especially one that is delicious and healthy! YUM.  They are wonderful as you can load up your blender with lots of healthy ingredients and create a delicious and portable drink.  Kiddos love them.  Adults love them.  Shakes are simply the greatest!  
 
 
This little beauty of a shake I recently discovered on a treasure of a blog called, Our Table for 7.  I was assigned Erin's blog for March's Secret Recipe Club.  I couldn't have been more delighted for such an opportunity! ALL of Erin's recipes that she shares on her blog are full of amazing yumminess.  ALL. Of. Them!!   I have pinned a number of her recipes to try ASAP.  Not to worry, I will post them here on my blog to share with all of you.  I look forward to trying her Crockpot Potato Soup as I have tons of potatoes left over from St. Paddy's Day.  I also want to make her Brownie Batter Pancakes - my girls will go gaga over them!!  And then of course her Oatmeal Cinnamon Chip Bars are right up my alley.
 
 
I have spent a lot of time reading through Our Table for 7 and I can tell that she puts just as much care and attention to her blog as she does with all of her lovely kiddos.  She has a deep devotion and dedication to feeding her family and friends delicious food.  I can't thank her enough for all the time and energy that she puts into it.  :-)
 
 
Banana, PB & Jelly Breakfast Shake
                                    (recipe from Our Table for 7)
                        *This recipe makes enough for 2-3 servings
 
Ingredients:
 
1 large banana
2 cups COLD milk
1 Tbsp PB
1 Tbsp jam/jelly of your choice (I used strawberry jam)
1/2 tsp vanilla extract
3-4 ice cubes (my addition)
 
Directions:
 
1. Add all ingredients into blender and mix/pulse for about 30 seconds to 1 minute or until smooth.
 
2. Pour into glasses and enjoy!


Happy Banana, PB & Jelly Breakfast Shake Making!


Tuesday, March 12, 2013

Glazed Maple Cinnamon Quick Bread

 
I treasure having the opportunity of expressing and sharing some of my passions in life with others.  Especially when it comes to baking and my life in the kitchen.  Baking is in a sense "food for my soul." It makes me happy.  It makes me sane.  It makes me whole.  It makes ME who I am. 
 
 
As much as I love the opportunity to bake I also LOVE to share what I bake.  It helps my mid-line some what under control and it provides me the delightful experience of giving to others.   Today I want to share with all of you a fabulous recipe that I recently discovered from one of my all time favorite food blogs, Buns In My Oven.  I have made many, many recipes from Karly's blog.  She never disappoints with all of her scrumptious creations.  This recipe that I honor today almost put me over the edge with baking happiness as it contains many of my most favorite ingredients.  PURE maple syrup for one and then of course the addition of browned butter is completely brilliant! Maple syrup and browned butter in one recipe allows for magical and rich yumminess. The last step in this recipe calls for the addition of COLD butter pieces that have been carefully coated with ground cinnamon into the bread batter allowing for little bursts of precious cinnamon all throughout the bread.  Perrrrrfection! Complete perfection.  And then of course having buckets of sugary smooth glaze drizzled all over the top of the bread (with plenty of left over for your spreading pleasure on individual slices) completely tops off (literally and deliciously) the amazing bread.
 
Make. This. Bread.  PLEASE!!!!
 
 
Glazed Maple Cinnamon Quick Bread
(Recipe from the adorable and scrumptious,  Buns In My Oven)
 
Ingredients:
For the bread:
2 1/4 cup flour
2 tsp baking powder
1/2 tsp baking soda
1 1/2 tsp ground cinnamon
1/2 tsp salt
1 cup pure maple syrup
1 cup buttermilk
2 large eggs
1 tsp vanilla extract
1/4 cup browned butter
1/4 cup COLD butter, cubed
1 Tbsp ground cinnamon
For the glaze:
1 cup powdered sugar
1/4 cup heavy cream (or half and half which is what I used)
1/2 tsp vanilla extract
1 tsp imitation maple syrup flavoring (my own addition as I wanted the glaze to taste of maple syrup too)
1/4 tsp salt
 
Directions:
 
1. Preheat oven to 350 degrees F.  Grease a 9x5 loaf pan and set aside.
 
2. Sift together flour, baking powder, baking soda, ground cinnamon and salt in a large bowl.
 
3. In a medium bowl, whisk together the maple syrup, buttermilk, eggs and vanilla extract.  Slowly whisk in browned butter.
 
4. Combine wet ingredients with dry. Mix just until combined.
 
5. In a small bowl combine COLD butter pieces and 1 Tbsp ground cinnamon. Gently fold in coated butter pieces into the batter.
 
6. Pour batter into prepared bread loaf pan and bake for 45 minutes or until a toothpick inserted in the center of the bread comes out clean.
 
7. Make glaze while bread is baking by whisking together all glaze ingredients in a medium bowl.  If necessary add in a little bit more sugar or cream to reach desired consistency. Drizzle glaze over completely cooled bread.  You will have extra glaze after pouring it over the top of the bread.  Eat it by the spoonful or spread it onto bread slices....it should NOT go to waste!
 
Enjoy!
 
 
Happy Glazed Maple Cinnamon Bread Baking!


Sunday, March 3, 2013

Cheesy Ham, Broccoli and Rice Skillet

Have you noticed a change around these parts? That's right there is some serious new cuteness on my blog!  I am just giddy with excitement over my look here at Baking and Creating with Avril!!! The fabulous Ashton from Something Swanky is the master mind behind my new look.  I can't thank her enough for all her help and talent that she has provided me.  I highly, highly recommend her services.  And to boot she is an AMAAAAZING baker too! Please do go check out her yummies and then you must check out her artistic creations too!
 
 
Speaking of changes, today instead of a recipe that is sweet and requires baking I've got a savory recipe for you.  That's right nothing baked.  No sugar or flour involved.  Not even a tiny bit of vanilla extract.  Just a simple, delicious and savory dish that will knock your socks off.


All this dish requires is a large skillet with a lid that can contain all the ingredients.  And then of course some rice (white or brown is just fine), a couple of cooked ham steaks and a couple small heads of broccoli.  All of the other ingredients can most likely be found in your pantry and fridge such as chicken broth and some grated cheese.


Now Easter is just around the corner - the end of this month in fact - and most likely there will be LOTS of good deals out there for ham.  Make sure you grab some or save some from your left-overs and make this recipe.  It's super easy and SUPER yummy!!
 
Cheesy Ham, Broccoli and Rice Skillet
(recipe from the fabulous Karly from Buns In My Oven)
 
Ingredients:
 
1 Tbsp olive oil
1 cup long-grain rice
2 1/4 cups chicken broth
2 small heads fresh broccoli, cut into bite size pieces
2 Tbsp butter
3 cups cooked and diced ham, hot (warm up in microwave before adding into skillet)
1 cup sharp cheddar cheese (or a mixture of cheese of your liking...I used 1/2 parm cheese and 1/2 cheddar cheese)
1/2 tsp garlic powder
salt and pepper,  to taste
splash of milk, if needed
 
 
Directions:
 
1. Place large skillet over medium heat.  Drizzle olive oil into pan and then pour in rice.  Stir to coat.  Cook rice until toasted and light brown, stirring often so that the rice doesn't burn.
 
2. Pour in chicken broth and bring to a boil.  Lower heat to low and cover.  Cook covered for 10 minutes.  Add in cut up broccoli and cook covered for an additional 5-10 minutes or until liquid has been cooked down.
 
3. Take skillet off of heat and add in butter, ham, cheese and garlic powder. Stir well to combine and then cover for 5 minutes more.  Add in S and P to taste just before serving.
 
Serve, enjoy and rejoice over a simple and delicious meal!
 
Happy Cheesy Ham, Broccoli and Rice Skillet Making!


LinkWithin

Related Posts with Thumbnails

ShareThis